Introduction
This document refers to Python 3.10.7 for Windows, the most current version as of this writing. Note that different computer set ups and themes may mean that the screen shots in this document may not match exactly your computer system. In particular, the Mac version of Eclipse looks different, although it has the same functionality as the Windows version.
Note: Installation instructions for a specific operation system are boxed
and preceded by the following icons:
This is a short primer on using Python IDLE (Python Development Environment) on Laurier's network.
In CP103 you should you should organize your labs and assignments in one
folder for the course. There may be some labs/assignments contain more
than one file. It may contain one or more .py Python source
code files, and may contain other types of files as required. A project
can be saved as a .zip (zip-encoded) file for submission or
for moving to another computer. A project typically represents a lab or
an assignment.
Installing Python
Download the latest version of Python from Python Downloads. (At the
time of this writing the latest version of Python is 3.11.1.) The web
page offers you the version of Python appropriate to your operating
system. Execute the file that you have downloaded. This program must be
run with your computer's administrator privileges, so be prepared to
enter your appropriate password if asked. Click on the option
Add
Python 3.11.1 to PATH (or its Mac/Linux equivalent) as noted below.
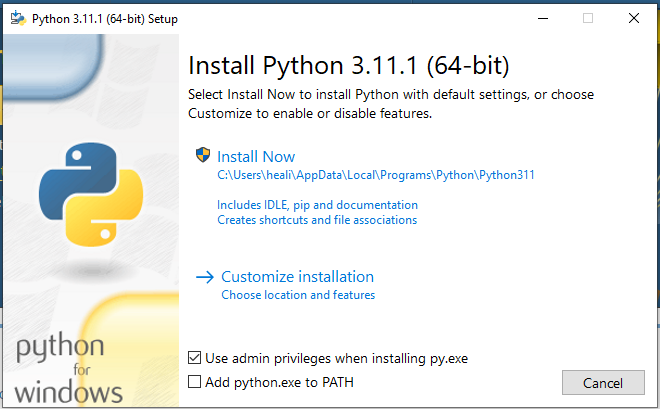
Note:
Pay close attention to where on your computer Python is installed and write it down. (The section outlined in red above notes where Python is being installed. You may choose a different installation path by using the Customize installation option if you like.) .
Launch Python Shell IDLE
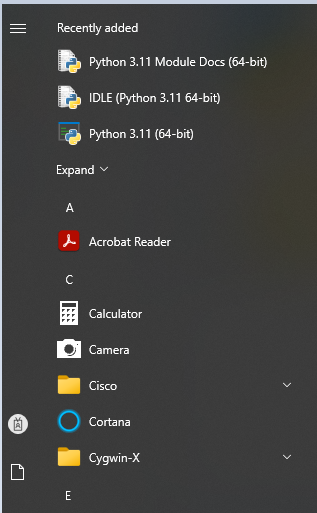
Follow the following steps to launch Python shell IDLE:
- Go to Start menu, select Python 3.11 --> Click on IDLE (Python3.11 64-bit):
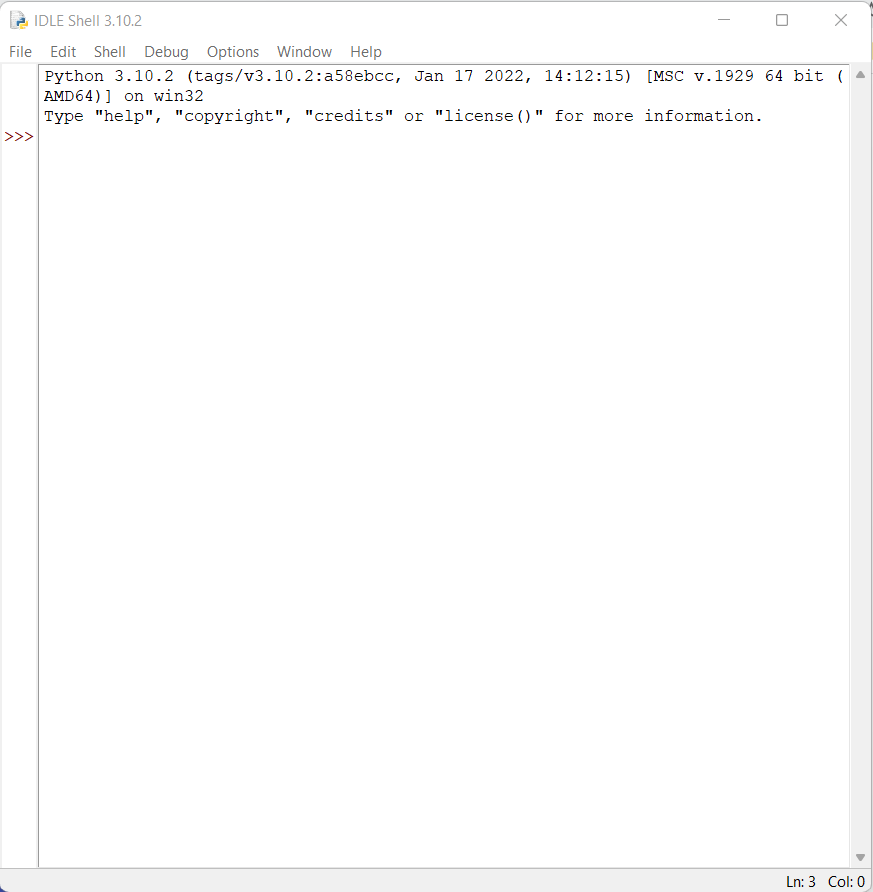
- You'll get: the Python Shell IDLE window
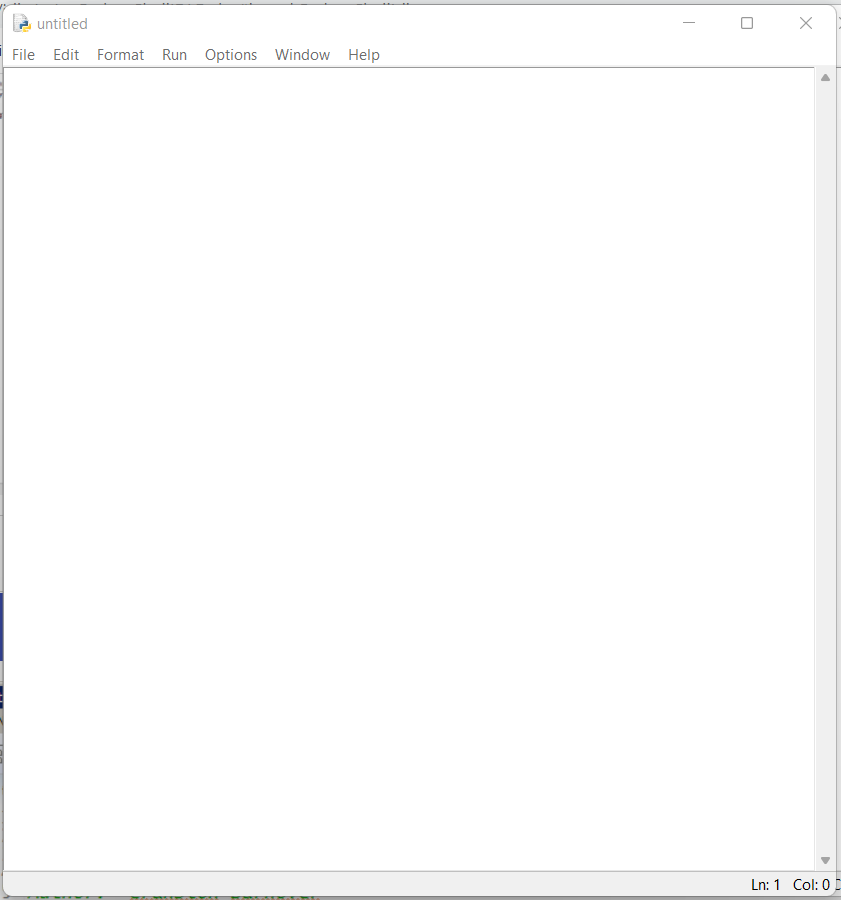
- To open an editor screen, "File --> New File"
The Menu Bar
The menu bar contains the Python Shell main menu. Although this primer uses only menu options in its examples you may use any icons or keyboard shortcuts that you are comfortable with. In this primer menu commands are shown in italics with a '/' between the menu levels, as in the example: File / Save.

Creating Projects
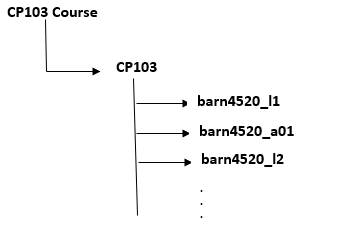
Working on Python labs and assignments may require working on more than one file at the same time as one project. To setup your working area, and to save your projects in one known place, it is recommended to create a folder; name it as CP103, in your computer to save your work. Inside this folder, you can save all your labs, assignments, and projects. For any lab or assignment requires more than one file, you have to create a folder to save all this project's files. You can arrange your course projects in a hierarchy looks like:
Labs Template
In all your labs and assignments, you have to place you credentials and lab/assignment details in the start of your files:
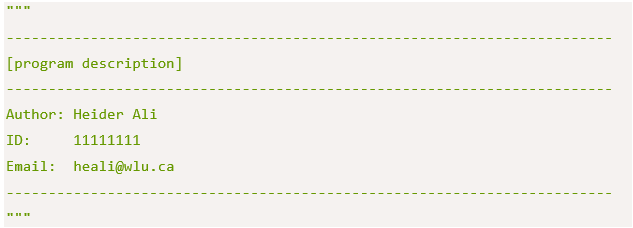
Replace the text your name , your ID , and your
Laurier email address with the appropriate information. The
file template.txt contains standard Laurier
template code.
Creating a New Python Project
In your CP103 course folder, create a new Python project. Name your project with the following pattern:
barn4520_l1
Adding Python Modules (Source Code Files)
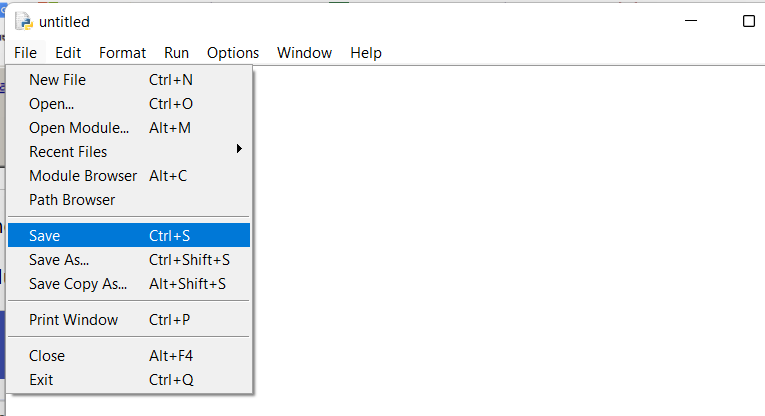
Add source code files to the source code folder of a project by selecting a new file from the File menu:

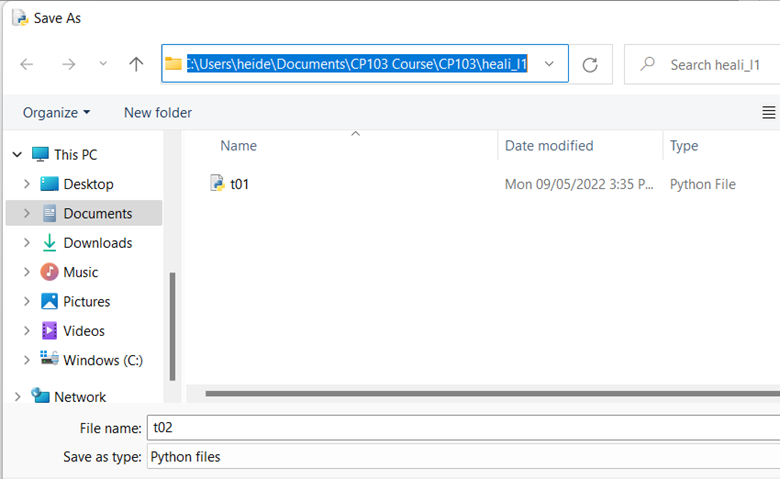
This file should be saved in the project's folder:
and select the right place in your project:
You have to place you credentials and lab/assignment details in the start of your files:
You can now fill in the [program description] parts of the
documentation, enter Python code, edit it, and execute the resulting
program. Your code goes below the triple quotes (""")
of the template at the top of the file.
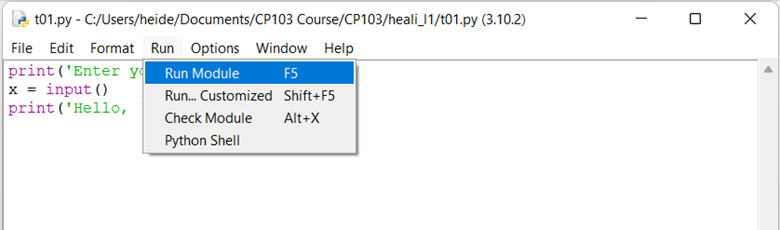
Executing a Python Program
To execute a program from within Python Shell IDLE, open the file in the editor,

Then click Run Module of the Run option in the Python IDLE menu:
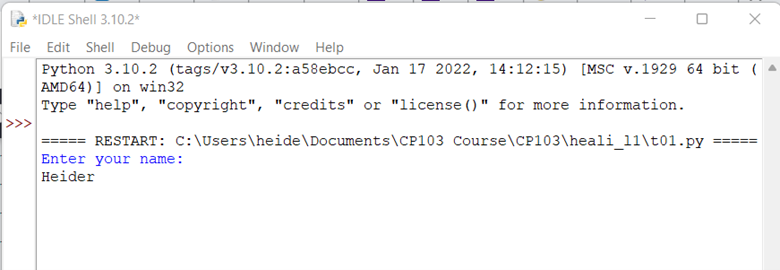
This will direct you to the IDLE Shell window to enter the input and to get the printed result of your program:
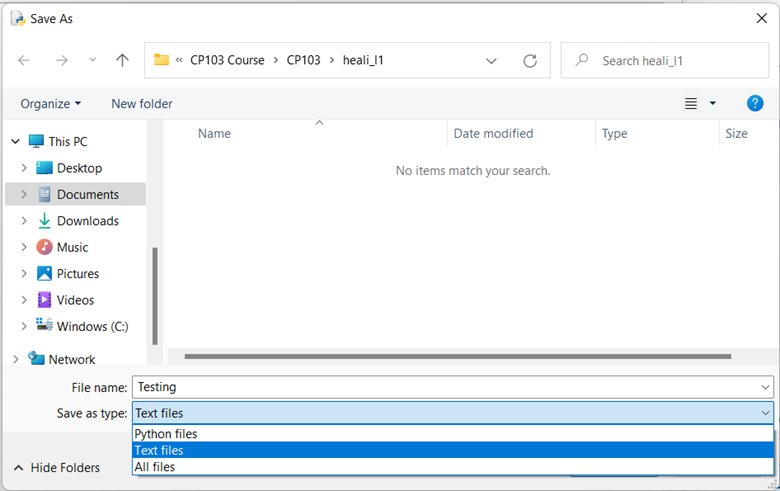
Copying and Pasting Results
To create a test results file (typically named testing.txt),
create the file by selecting a New File from the File menu, and then
Save it as Text File:
You may copy the contents of the Console to the clipboard by
right-clicking on the Python Shell Console and choosing Copy
from the pop-up menu, and then right-click in the Testing.txt
file window and select Paste from the pop-up menu:
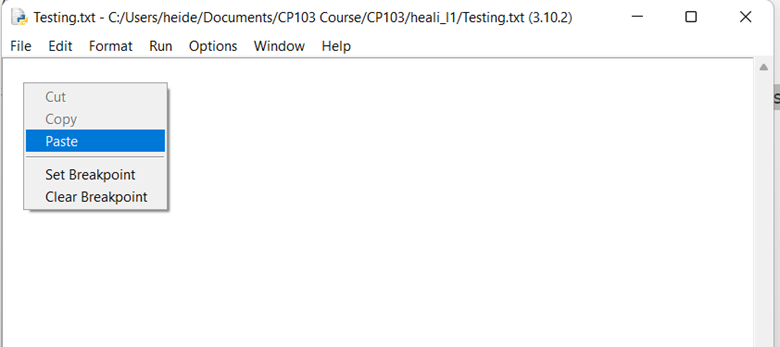
You may then paste the contents of the clipboard to the test results file.
Exporting a Project
In order to submit Python programming assignments or copy projects to
other computers you must export a project. Projects can be exported in a
number of ways, but normally you will export a project as an archive
(i.e. a .zip file).
Your labs/assignments may be
composed or one file or more. There are two different ways to export
your project based on the number of files it composed:
Exporting a One file Project
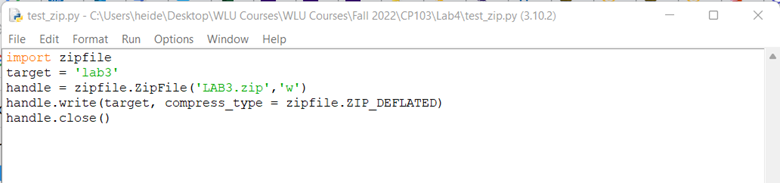
To export a folder of single .py as an archive ( i.e. a .zip
file) you need to use the following code:
import zipfile
target = 'lab3'
handle = zipfile.ZipFile('LAB3.zip','w')
handle.write(target, compress_type = zipfile.ZIP_DEFLATED)
handle.close()
This code has to be placed in a .py file inside the folder of the
lab/assignment contains a folder of .py file to be
exported, save it as .py file, and then run it.
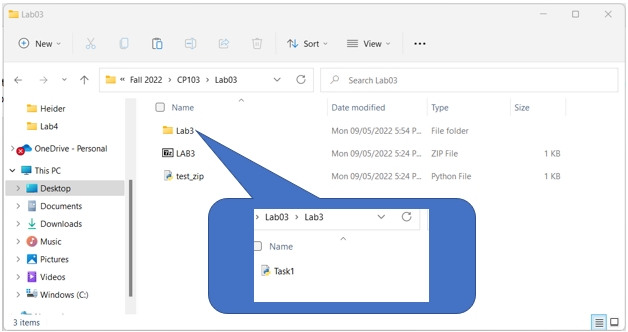
For example, if you have a folder Lab3 contains one file: Task1.py
. If the export single file code saved in a file called test_zip.py,
running this code will export an archive ( zipped file) Lab3.zip
Exporting a Muti-file Project
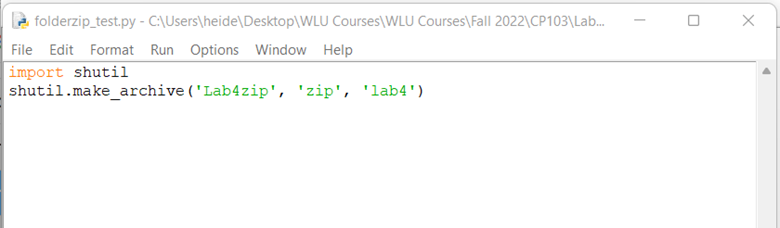
To export a folder of more than one file with .py, .txt , and other files as single archive ( i.e. .zip file) you need to use the following code:
import shutil
shutil.make_archive('Lab04zip', 'zip', 'lab4')
This code has to be placed in a .py file inside the folder of the lab/assignment contains a folder of the files to be exported, save it as .py file, and then run it.
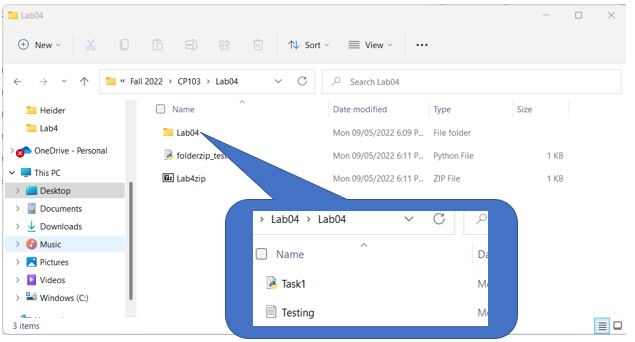
For example, if you have a folder Lab04 contains two files, Task1.py
and another is testing.txt file. If the export muti-file code
saved in a file called folderzip.py , running this code will
export an archive ( zipped file) Lab04.zip
Submitting a Project to MLS
First, make sure you know where on your computer your zipped project file lives. It's difficult to submit a file if you can't find it. If necessary, go and re-export your project, paying close attention to the folder into which you have exported it.
From the MLS main menu choose Dropbox. This displays the Dropbox Folders page:
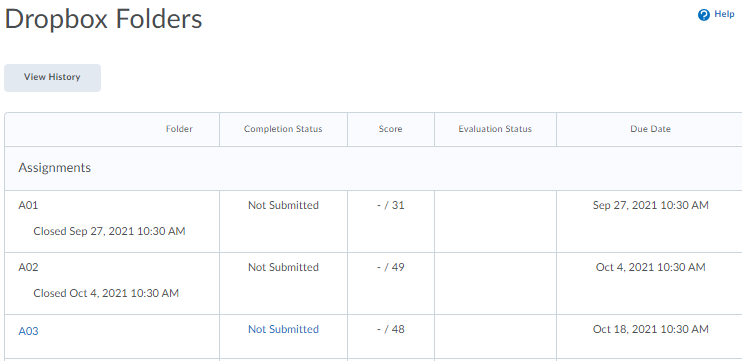
Lab dropbox dates never overlap with other Lab dropbox dates, and Assignment dropbox dates never overlap with other Assignment dropbox dates, but Lab dropbox dates may overlap with Assignment dropbox dates, so make sure that you have chosen the correct Lab or Assignment dropbox. Click the appropriate Lab or Assignment dropbox. This displays the submission information for that dropbox:
Click to bring up the list of submission sources dialog box:
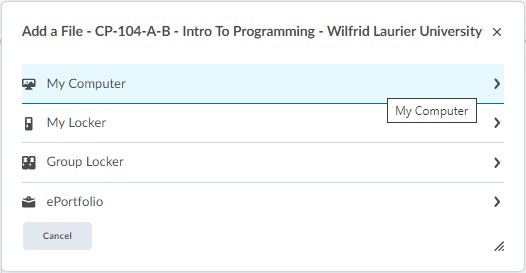
Choose My Computer as your zipped project file source:
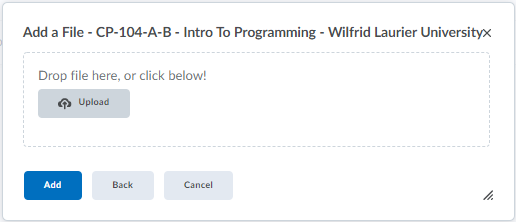
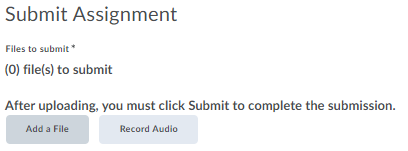
Drag and drop your zipped project file into the Drop file here box, or click . Clicking on the button brings up a standard file selection dialog box - select the file to upload and press . The file to be uploaded is now listed:
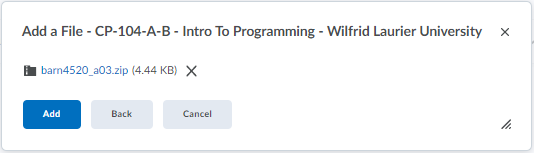
Click to upload the selected file. The file you are adding is now listed in the dialog box:
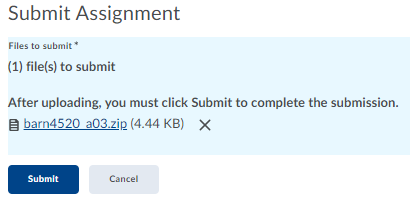
Click to verify that this is the file you want to submit to dropbox. This displays the Review page that verifies that you have correctly submitted a zipped project file:
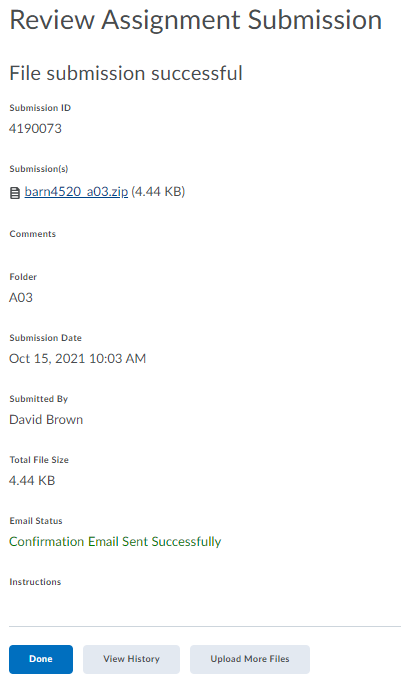
Click .
You may go back at any time to restart the submission process. You may overwrite your submitted file at any time. Only the last zipped project file submitted is saved and graded.
DO NOT WAIT UNTIL THE LAST MINUTE TO SUBMIT A ZIPPED PROJECT FILE. When the dropbox is set to close at, for example, 10 am, it is closed as of 10:00:00, not 10:00:01 to 10:00:59. There also could be potential connection delays. Give yourself lots of time.
Resources
- http://www.oracle.com/technetwork/java/index.html
- The Java home page.
- https://www.python.org/
- The Python home page.
- http://www.python.org/dev/peps/pep-0008/
- A style guide for Python code.
- http://wiki.python.org/moin/
- The Python wiki.