Installing Eclipse for CP104
Note: Installation instructions for a specific operation system are boxed and preceeded by
the following icons:
Start by downloading the appropriate file from the Eclipse Installer page. Choose the installer appropriate to your operating system and download it, and pay attention to where the installation file is saved so that you can execute it.
Having downloaded the installation file, execute. In Windows or do the equivalent on the Mac or Linux.
After downloading, execute the eclipse-inst-win64.exe
program by right-clicking on the icon and choosing Run as Administrator.
Allow the app to make changes to your system.
After downloading, install the eclipse-inst-mac64.dmg file to create the
Installer. Start the Installer once it is available.
After downloading, unzip the eclipse-inst-linux64.tar.gz file to create the
Installer. Start the Installer once it is available.
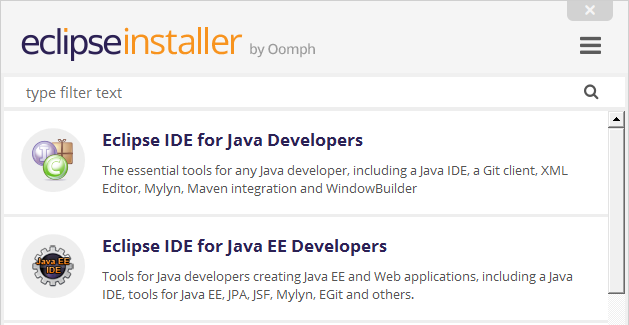
Executing the Installer brings up the Eclipse Installer splash page followed by an initial list of install options.
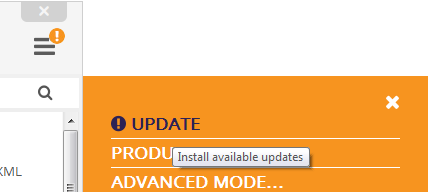
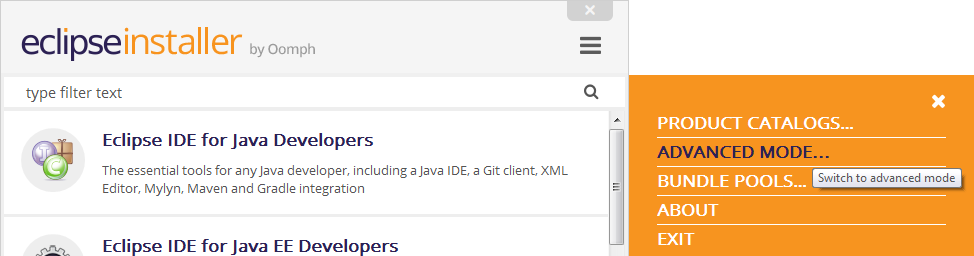
You may see an exclamation mark on the menu button ![]() that indicates an update to the software is available. Press the menu button and select UPDATE.
that indicates an update to the software is available. Press the menu button and select UPDATE.
The installation package is updated, and restarts.
Whether you update the installation package or not, press the menu button ![]() and select ADVANCED MODE....
and select ADVANCED MODE....
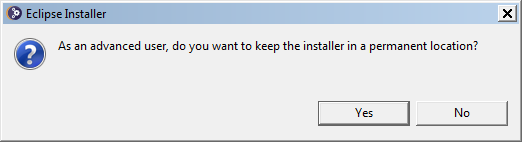
When asked if you wish to keep the installer in a permanent location
, press
.
From the Product dialog box, choose the product version Eclipse Platform.
Check the information displayed near the bottom of the dialog box. The dropbox labelled Java 1.8+ VM (it is red-bordered only in this documentation to make it stand out) should refer to your latest (Current) installation of Java. You may click on the dropbox to choose another version of Java if you have one available and want to use it. If there is a Java installation problem, the Eclipse installation fails, and you must go back and fix this. You must have a version of the Java JDK that is at least version 1.8. Check out the Installing Java page if necessary.
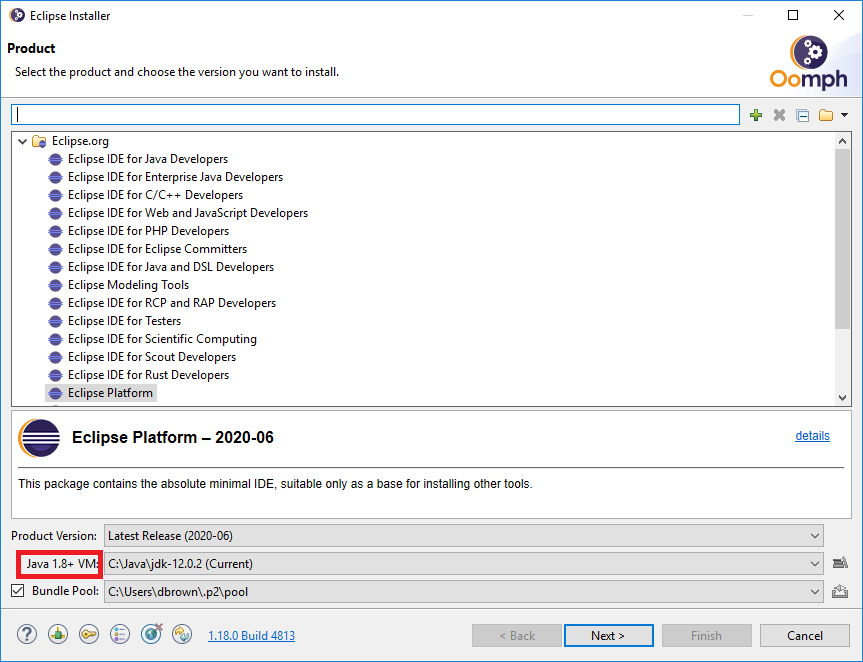
Press .
Now we need to introduce the customized installation for CP104. Click on the green cross
[![]() Add user projects] just below
the Oomph logo in the upper right corner of the Projects dialog box. (Should you need to remove an exising
customized installation, first click on the checkbox beside the installation to remove, then on the
red x [
Add user projects] just below
the Oomph logo in the upper right corner of the Projects dialog box. (Should you need to remove an exising
customized installation, first click on the checkbox beside the installation to remove, then on the
red x [![]() Remove the selected user projects] beside the
green cross.)
Remove the selected user projects] beside the
green cross.)
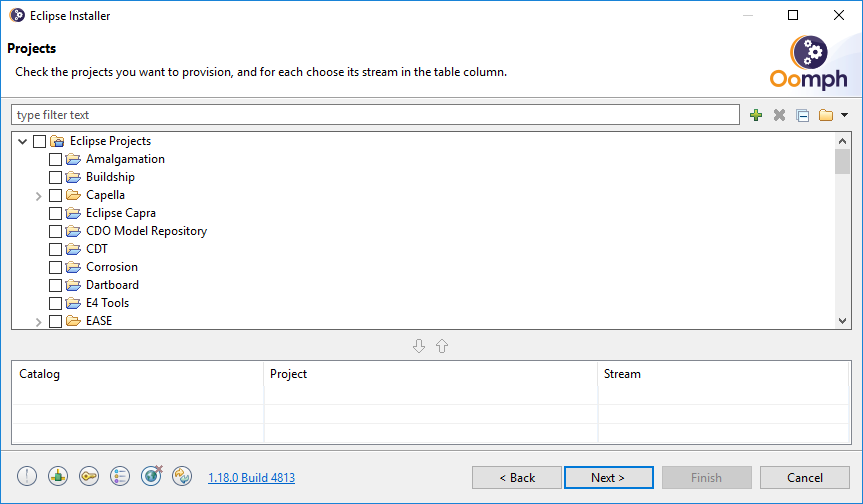
Clicking on the green cross brings up the Add User Projects dialog box. Choose Eclipse Projects from the Catalog dropbox, and copy and paste the following URL into the Resource URIs text box:
https://bohr.wlu.ca/eclipse/CP104.setup
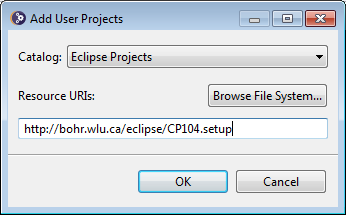
and press .
This creates a CP104 folder within the <User> folder. Click on the CP104 checkbox to select it for installation. A reference to <User> - CP104 should appear in the Project column near the bottom of the Projects dialog box:
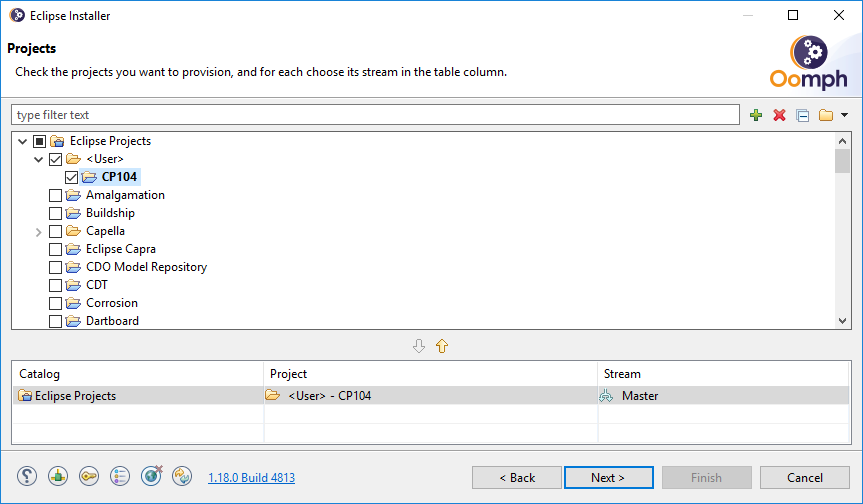
Press .
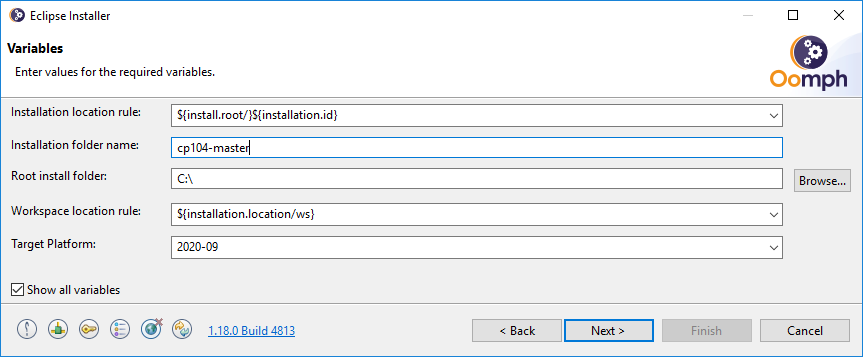
The Variables dialog box allows you to customize where your copy of Eclipse is
installed. Your list of variables may differ from what you see in the following image,
but this is not a problem. (Click on the Show all variables checkbox to see a larger
list of variables.) If you wish to change the name of your installation folder, change the Installation folder name from
cp104-master to something else, such as a simpler cp104 or eclipse.
Press .
The Confirmation dialog box allows you to review the tasks the Installer performs to install Eclipse. Your values may differ slightly from what you see in the following image - this is not a problem:
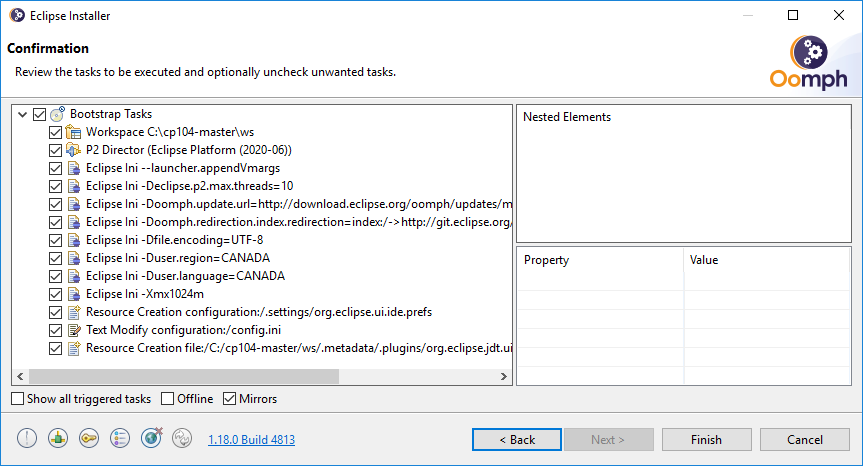
Press .
(Should you be writing over an existing installation, an Overwrite checkbox appears, and you may select this in order to copy the new installation over the old installation.)
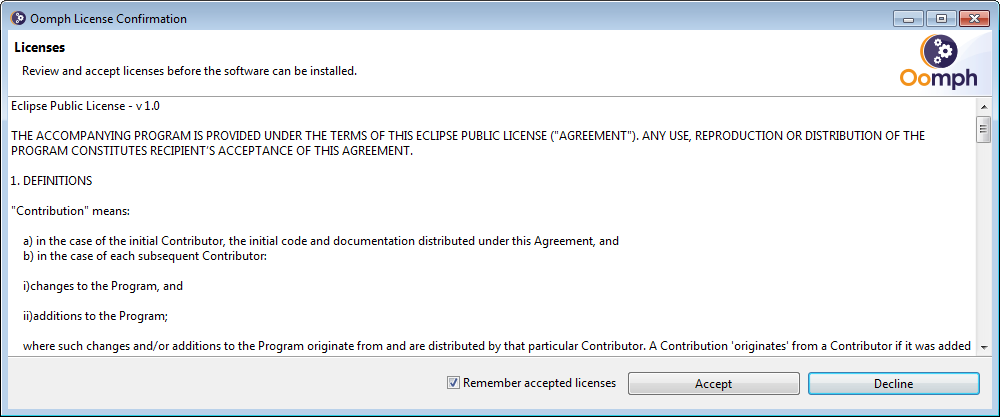
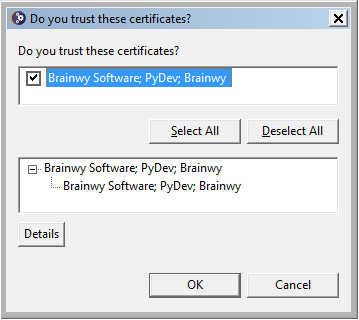
During the install you may be asked to accept one or more licenses, or whether to trust certain certificates. Accept all such licenses and certificates. Make sure that you click on the appropriate selection boxes, including the Remember accepted licenses, before pressing or to continue. The following are examples of license/certificate dialogs you may see:
For the following, make sure that you press before pressing .
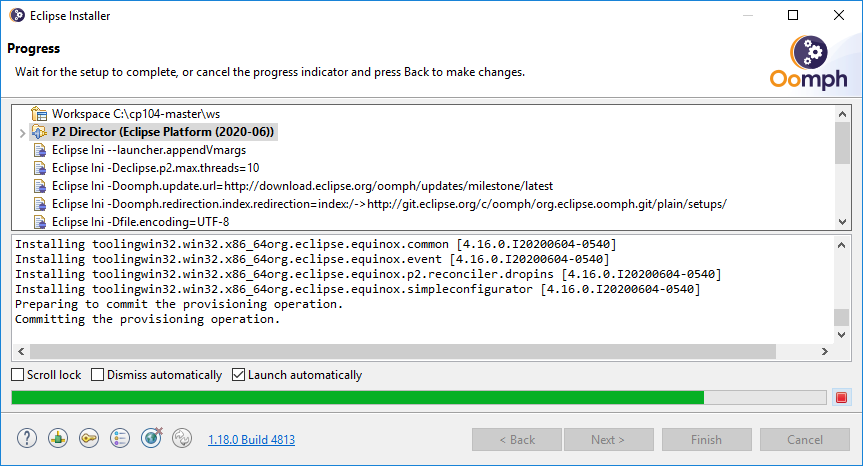
At this point the installer downloads all of the required components of Eclipse from the Internet and installs them on your computer. This can take quite a while, but the Progress dialog box displays the installation progress.
Eclipse automatically starts after the installation finishes and displays the Eclipse logo:
![]()
You may press on the Eclipse Installer dialog box any time after Eclipse logo appears.
After the Eclipse logo disappears, its Welcome screen appears:
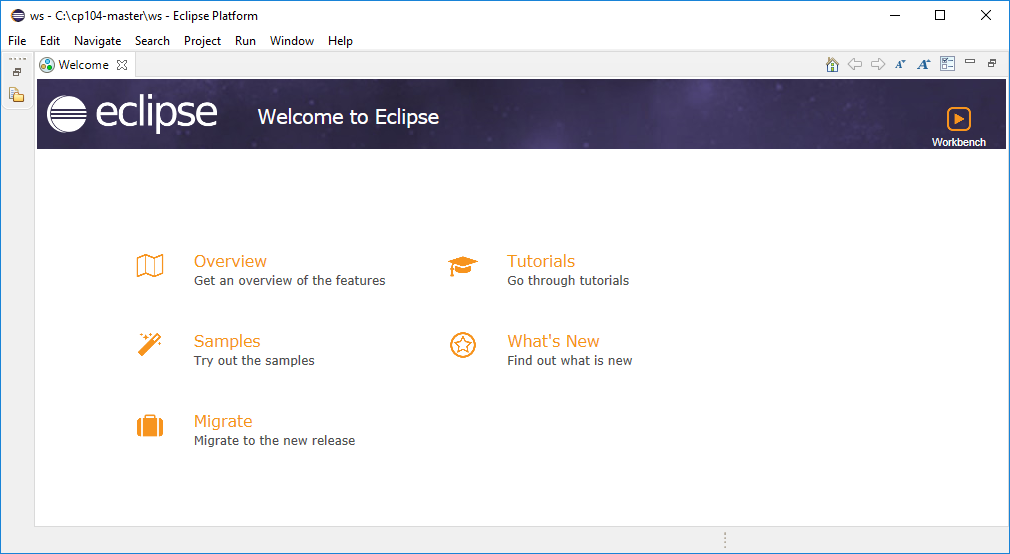
Wait for a few moments - certain CP104 specific settings and updates are automatically applied to Eclipse before you can start creating projects:
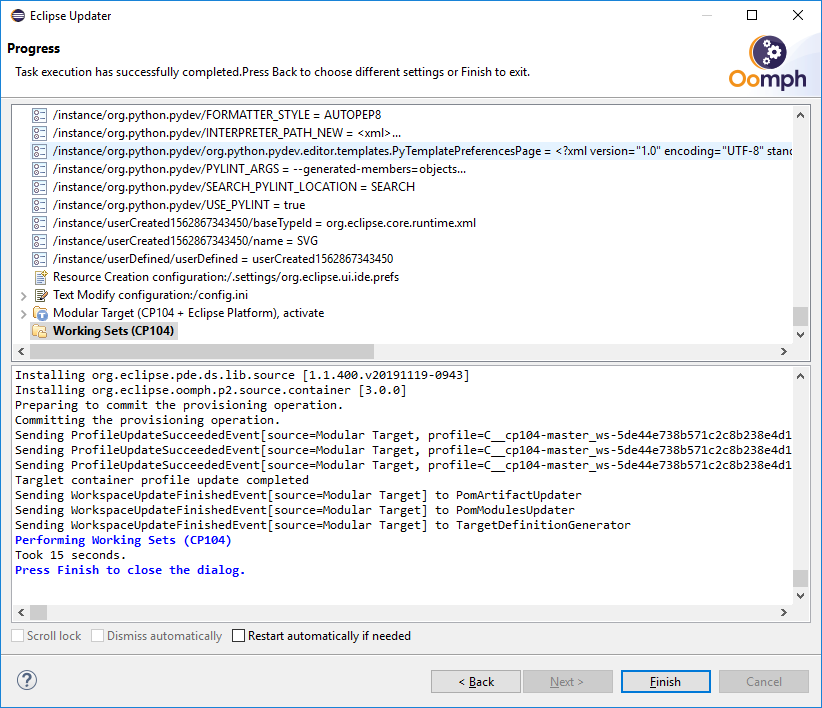
When the update process finishes, press to close the Eclipse Updater dialog box. If there are errors during the update process that affect how Eclipse runs, please contact one of the CP104 lab supervisors.
Eclipse has now been installed, but you must configure its PyDev plugin before creating and executing programs. See the Configuring PyDev instructions for details on this.
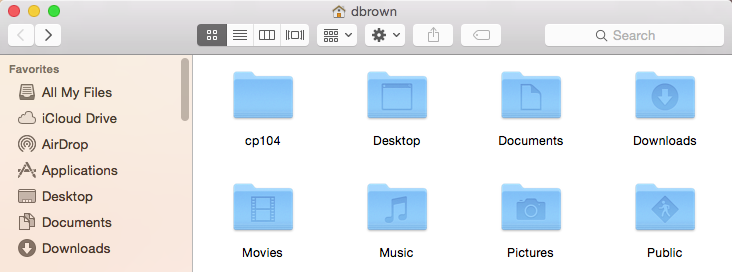
Eclipse has been installed in your Home folder. Open your Home folder from Finder:
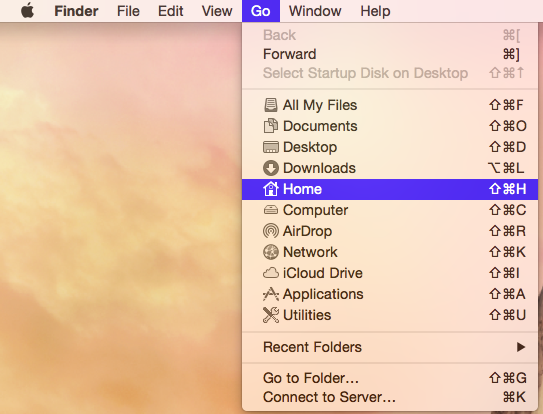
The cp104 folder contains the Eclipse application and your workspace.